-
Docker-Network 기초Infra & Tools/Docker&K8s 2022. 7. 14. 21:15

컨테이너의 통신에 대하여 ㄱ ㄱ >>> 오늘의 코드 두둥 (app.js)
DB 저장 조회 2개, 서드파트 api 호출 하여 만든 api 2개 총 4개의 endpoint 로 구성된 앱이다.
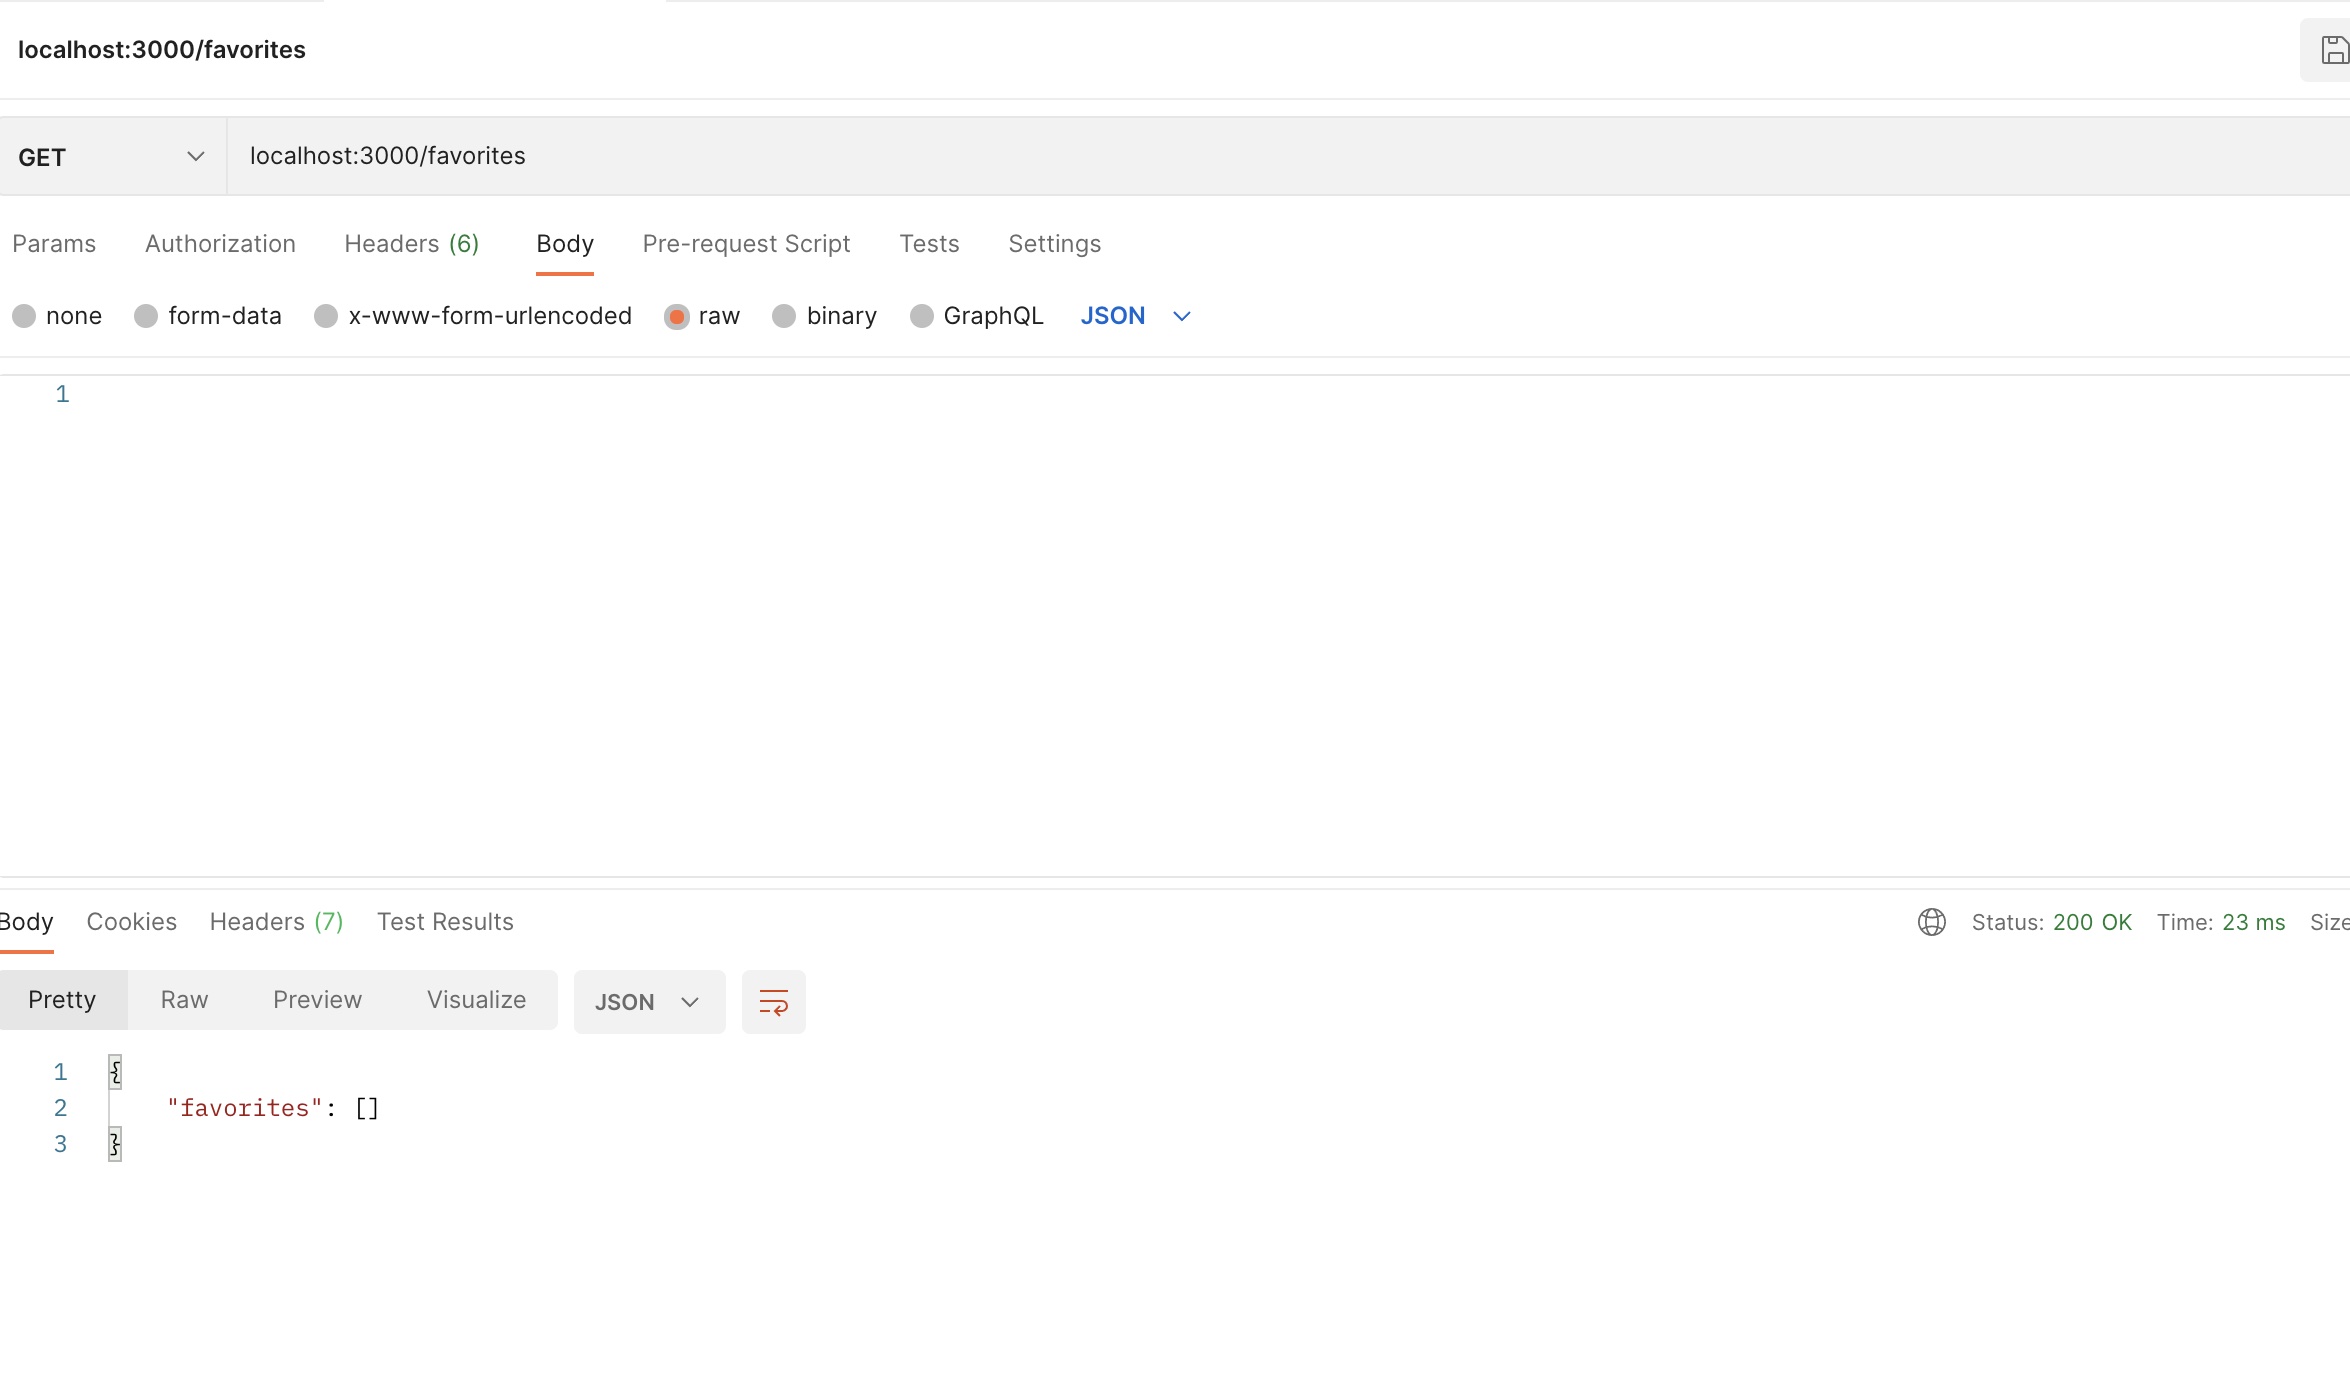
const express = require('express');
const bodyParser = require('body-parser');
const axios = require('axios').default;
const mongoose = require('mongoose');

const Favorite = require('./models/favorite');

const app = express();

app.use(bodyParser.json());

app.get('/favorites', async (req, res) => {
  const favorites = await Favorite.find();
  res.status(200).json({
    favorites: favorites,
  });
});

app.post('/favorites', async (req, res) => {
  const favName = req.body.name;
  const favType = req.body.type;
  const favUrl = req.body.url;

  try {
    if (favType !== 'movie' && favType !== 'character') {
      throw new Error('"type" should be "movie" or "character"!');
    }
    const existingFav = await Favorite.findOne({ name: favName });
    if (existingFav) {
      throw new Error('Favorite exists already!');
    }
  } catch (error) {
    return res.status(500).json({ message: error.message });
  }

  const favorite = new Favorite({
    name: favName,
    type: favType,
    url: favUrl,
  });

  try {
    await favorite.save();
    res
      .status(201)
      .json({ message: 'Favorite saved!', favorite: favorite.toObject() });
  } catch (error) {
    res.status(500).json({ message: 'Something went wrong.' });
  }
});

app.get('/movies', async (req, res) => {
  try {
    const response = await axios.get('https://swapi.dev/api/films');
    res.status(200).json({ movies: response.data });
  } catch (error) {
    res.status(500).json({ message: 'Something went wrong.' });
  }
});

app.get('/people', async (req, res) => {
  try {
    const response = await axios.get('https://swapi.dev/api/people');
    res.status(200).json({ people: response.data });
  } catch (error) {
    res.status(500).json({ message: 'Something went wrong.' });
  }
});

mongoose.connect(
  'mongodb://localhost:27017/swfavorites',
  { useNewUrlParser: true },
  (err) => {
    if (err) {
      console.log(err);
    } else {
      app.listen(3000);
    }
  }
);
1. StarWars api 이용 Get api 결과 ,

DB 저장 결과

DB 조회:

웹 서버 운영 측면 : -> 단일 서버에 디비를 올린다 -> 관리 하기는 쉽다 ,,, 서버 터지면 바로 망한다.

AWS RDS. ,EC2 ,,,,,etc 1. 디비를 도커에 올린다.
2. 앱을 도커에 올린다.
3. 연결하자(!)

3 가지 방식의 고려 사항 1. 외부와의 통신 .
2. 컨테이너 간의 통신 .
3. 호스트 머신과의 통신.
--------------------------------------------------------------------------------------------------------------------------------------------------------------------------------------------------------------------------------------------
Docker 에 올릴준비 .
1. 다운 받은 node_modules, package-lock.json 로컬에서 제거 .

2. DB 는 앱과 분리하여 컨테이너의 넣어야함. -> 외부와 통신 먼저 확인.

주석 처리를 하지 않고 도커컨테이너를 실행 하면 오류가 난다. -> 추가 설정이 필요함 주석 처리후 이미지 생성 -> run -> postman 확인
docker build -t a-node .
docker run --name a-app -d --rm -p 3000:3000 a-node
컨테이너 외부 연결 확인 결과 :

잘됨 but 쫌 느린듯? --------------------------------------------------------------------------------------------------------
기분 탓 아님.... (1000ms = 1s)
로컬 호스트 머신 : 1871 ms
도커 : 8s~ 10s
--------------------------------------------------------------------------------------------------------
정리 :
1.
컨테이너 내부 앱에서 외부 www 로 request 보내는 것에는 특별한 설정이나 제약이 없다.
2.
컨테이너 내부 앱에서 로컬 호스트 서버 및 머신으로 연결하는것은 추가 작업이 필요하다.
3. 속도가 느려짐
2번 문제 : 컨테이너 내부 앱에서 로컬 호스트 서버 및 머신으로 연결하는것은 추가 작업이 필요하다.
--------------------------------------------------------------------------------------------------------
locahost 대신. 도커 특수 도메인 host.docker.internal 을 적어 도커가 Host Machine인식 하게 하자
mongoose.connect(
  // 'mongodb://localhost:27017/swfavorites',
  'mongodb://host.docker.internal:27017/swfavorites',
  { useNewUrlParser: true },
  (err) => {
    if (err) {
      console.log(err);
    } else {
      app.listen(3000);
    }
  }
);
실행중인 컨테이너 닫고 , 이미지 생성 -> 컨테이너 실행
docker stop a-app

docker build -t a-node .
docker run --name a-app -d --rm -p 30000:3000 a-node
결과: good!

생성한 컨테이너에 DB 내부의 데이터가 들어 간게 아니라서 이전에 저장한 데이터를 잘 호출한다. 3 가지 경우 중 컨테이너 끼리 통신하는 방법만 알면된다.
3 가지 방식의 고려 사항 1. mongo DB 컨테이너 만들기
2. app 컨테이너 실행
1.
mongo DB 이미지 확인 ->. docker run mongo
https://hub.docker.com/_/mongo
Mongo - Official Image | Docker Hub
We and third parties use cookies or similar technologies ("Cookies") as described below to collect and process personal data, such as your IP address or browser information. You can learn more about how this site uses Cookies by reading our privacy policy
hub.docker.com
도커 허브 접속을 위해 로그인
detached mode , container name : mongodb
docker login -u jo187712
password:

docker run -d --name mongodb mongo

docker ps
good! 1. mongo DB 컨테이너 만들기 o
2. app 컨테이너 실행 ...?
2. 작성된 코드 수정??? >>> 로컬 호스트 ip 주소에서 mongo DB 컨테이너 ip 주소 넣어 보자
mongoose.connect(
  // 'mongodb://localhost:27017/swfavorites',
  'mongodb://host.docker.internal:27017/swfavorites',
  { useNewUrlParser: true },
  (err) => {
    if (err) {
      console.log(err);
    } else {
      app.listen(3000);
    }
  }
);
----------------------------------------------------------------------------------------------------------------------
1. ip 주소 check
docker container inspect mongodb>>
"IPAddress": "172.17.0.2",
2. code ip 주소 수정
mongoose.connect(
  // 'mongodb://localhost:27017/swfavorites',
  'mongodb://172.17.0.2:27017/swfavorites',
  { useNewUrlParser: true },
  (err) => {
    if (err) {
      console.log(err);
    } else {
      app.listen(3000);
    }
  }
);
3. 실행
docker stop a-app

docker build -t a-node .
docker run --name a-app -d --rm -p 3000:3000 a-node
결과:
로컬에 있는 DB 에 접속 한것이 아닌 새로만든 컨테이너의 올라간 DB에 접속 했다.

----------------------------------------------------------------------------------------------------------------------
매번 inspect 해서 확인 하고 찾기 귀찮다
-> docker Networks! 컨테이너들 만들고 밀어 넣자!

같은 네트워크내부간 통신에서는 컨테이너의 포트를 개시할 필요가 없다 1. 도커 네트워크 생성
docker network create cho-net
docker network ls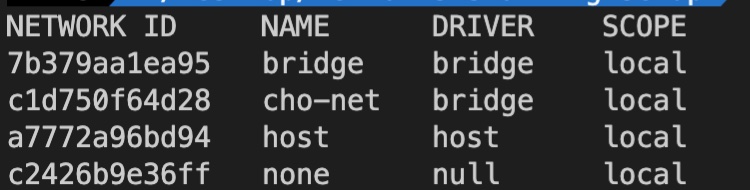
net work name cho-net 2. 코드 수정
도메인에 생성할 DB 전용 컨테이너 이름을 넣는다.
mongoose.connect(
  // 'mongodb://localhost:27017/swfavorites',
  'mongodb://mongodb:27017/swfavorites',
  { useNewUrlParser: true },
  (err) => {
    if (err) {
      console.log(err);
    } else {
      app.listen(3000);
    }
  }
);
docker container prune docker run -d --name mongodb --network cho-net mongo docker build -t a-node . docker run --name a-app --network cho-net -d --rm -p 3000:3000 a-nodeResult :

평균 : 2000ms
DB good --------------------------------------------------------------------------------------------------------------------------------------------------------------------------------------------------------------------------------------------

1. 컨테이너 내부앱 - 외부 http 통신 : easy ok
2. 컨테이너 내부앱 - local host : domain 수정 host.docker.internal
3. 컨테이너 앱 - 컨태이너 Db : if same docker network then domain 수정 conatiner name
point : Docker 는 코드를 읽는 것이 아니라 요청의 대응하는것이다.
cf )
Docker network 안 컨테이너 속 docker app - 외부 요청 1200ms~1300ms
Docker 컨테이너 속 docker app - 외부 요청 10s~15s
----------------------------------------------------------------------------------------------------------------------
----------------------------------------------------------------------------------------------------------------------
디폴트 드라이버는 'bridge' 드라이버입니다. 이 드라이버는 모듈에 나타난 동작을 제공합니다
(즉, 컨테이너가 동일한 네트워크에 있는 경우, 이름으로 서로를 찾을 수 있음).
드라이버는 네트워크 생성 시 '--driver' 옵션을 추가하여 간단히 설정할 수 있습니다.
- docker network create --driver bridge my-net
물론 'bridge' 드라이버를 사용하고자 하는 경우, 'bridge'가 디폴트이므로, 전체 옵션을 생략하면 됩니다.
Docker는 아래의 대체 드라이버도 지원하지만 대부분의 경우 'bridge' 드라이버를 사용합니다.
- host: 스탠드얼론 컨테이너의 경우, 컨테이너와 호스트 시스템 간의 격리가 제거됩니다 (즉, localhost를 네트워크로 공유함).
- overlay: 여러 Docker 데몬 (즉, 서로 다른 머신에서 실행되는 Docker)이 서로 연결될 수 있습니다. 여러 컨테이너를 연결하는 구식의 / 거의 사용되지 않는 방법인 'Swarm' 모드에서만 작동합니다.
- macvlan: 컨테이너에 커스텀 MAC 주소를 설정할 수 있습니다. 그러면 이 주소를 해당 컨테이너와 통신하는데 사용할 수 있습니다.
- none: 모든 네트워킹이 비활성화됩니다.
- 써드파티 플러그인: 모든 종류의 동작과 기능을 추가할 수 있는 타사 플러그인을 설치할 수 있습니다.
언급했듯이 'bridge' 드라이버는 대부분의 시나리오에 가장 적합합니다.
'Infra & Tools > Docker&K8s' 카테고리의 다른 글
aws EFS and k8s (0) 2022.08.18 로드벨런서 역할 및 특징 (0) 2022.08.18 Container Service AWS ECS vs k8s (0) 2022.08.04 Docker - Command (0) 2022.07.09 Docker 왕왕 기초 예제 (0) 2022.07.06